


Angular i18n: A Step-by-Step Guide to Multilingual Apps
If you're working with Angular and looking to support multiple languages in your app, understanding how to implement internationalization (i18n) is a crucial step. Fortunately, Angular provides powerful built-in tools to help developers create fully localized applications with ease.
In this step-by-step guide, we'll walk through everything you need to know to make your Angular project multilingual. From setting up the Angular i18n package to generating translation files and configuring language-specific builds, you'll learn how to structure your app for seamless localization. And we won't stop at manual setup, because when it comes to scaling localization, automation is essential. I'll also show you how to go further by integrating Polygot, a powerful tool that simplifies and streamlines translation workflows for Angular applications (and many other frameworks and file formats).
Whether you're adding support for just one new language or planning to scale to dozens, this guide will equip you with the tools and best practices to get started confidently.
Let's dive into how to internationalize your Angular app the right way. 🚀
Table of contents
All the code for this guide is available in this github repository. Feel free to clone it for use as a template or to save time!
Creating our Angular app
Unsurprisingly, the first step in our journey is to create a new Angular project. For this, we'll use the Angular CLI—install it if you haven't already.
If you'd rather update an existing project, you can skip the first steps of this guide and jump directly to the internationalization step.
I'll name my project "angular-i18n", but feel free to name yours however you like 🙂. I'll also keep the default options offered by the Angular CLI prompt.
npm install -g @angular/cli
ng new angular-i18n
Once the installation is complete, we will be able to verify that everything is working correctly.
cd angular-i18n
ng serve
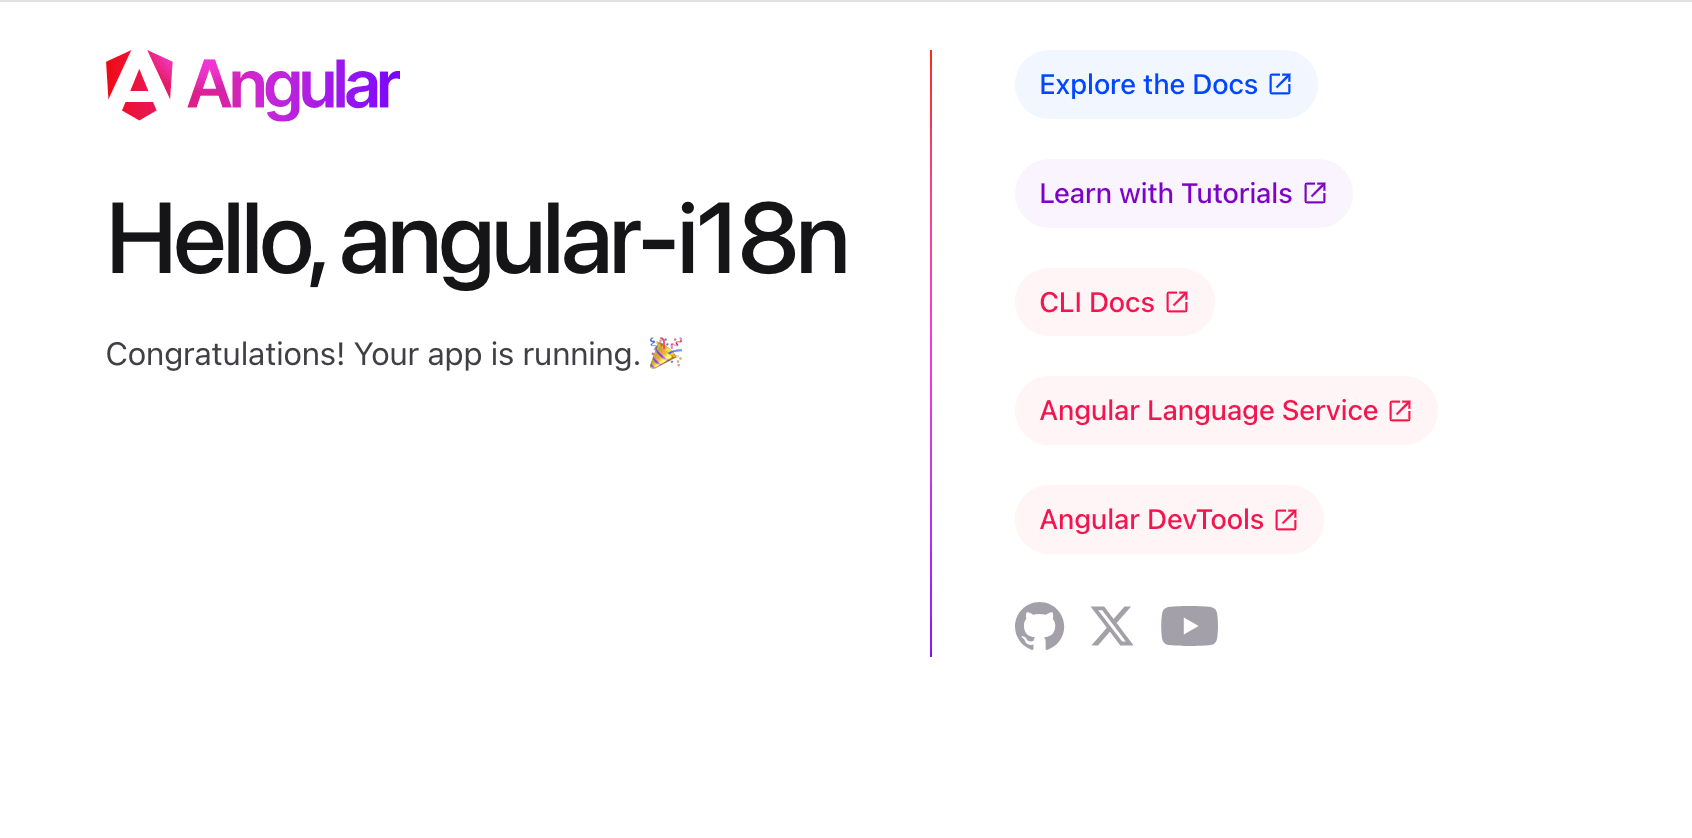
Open your browser at localhost:4200 (4200 being the default port). You should see an application that looks something like this :
Adding Navigation (Optional)
To add a bit more text content to our app—and to later see how navigation behaves in a multilingual context, let's add an "About" component, which will be desplayed when we nagivate to /about.
In order to do this, let's create a new Angular component, using the CLI:
ng generate component about
This will create an "about" folder under /src/app, where all the files needed by our component are stored.
In order for us to display this component when browsing to /about, we will need to make a few small changes to our project:
- add the route to the router configuration
app.routes.ts
import { Routes } from '@angular/router'; import { AboutComponent } from './about/about.component'; export const routes: Routes = [ { path: 'about', component: AboutComponent }, ]; - add navigation to our main component
app.component.ts
import { RouterOutlet, RouterLink, RouterLinkActive } from '@angular/router'; @Component({ selector: 'app-root', imports: [RouterOutlet, RouterLink, RouterLinkActive], templateUrl: './app.component.html', styleUrl: './app.component.css', })app.component.html<div style="margin-top: 40px;"> <a routerLink="/about" routerLinkActive="active" ariaCurrentWhenActive="page">About</a> </div> - update the content of the
aboutcomponentabout.component.html<div> <h2>About this app</h2> <p>This is a demo app of an Angular project with internationalization. 🙂</p> </div>
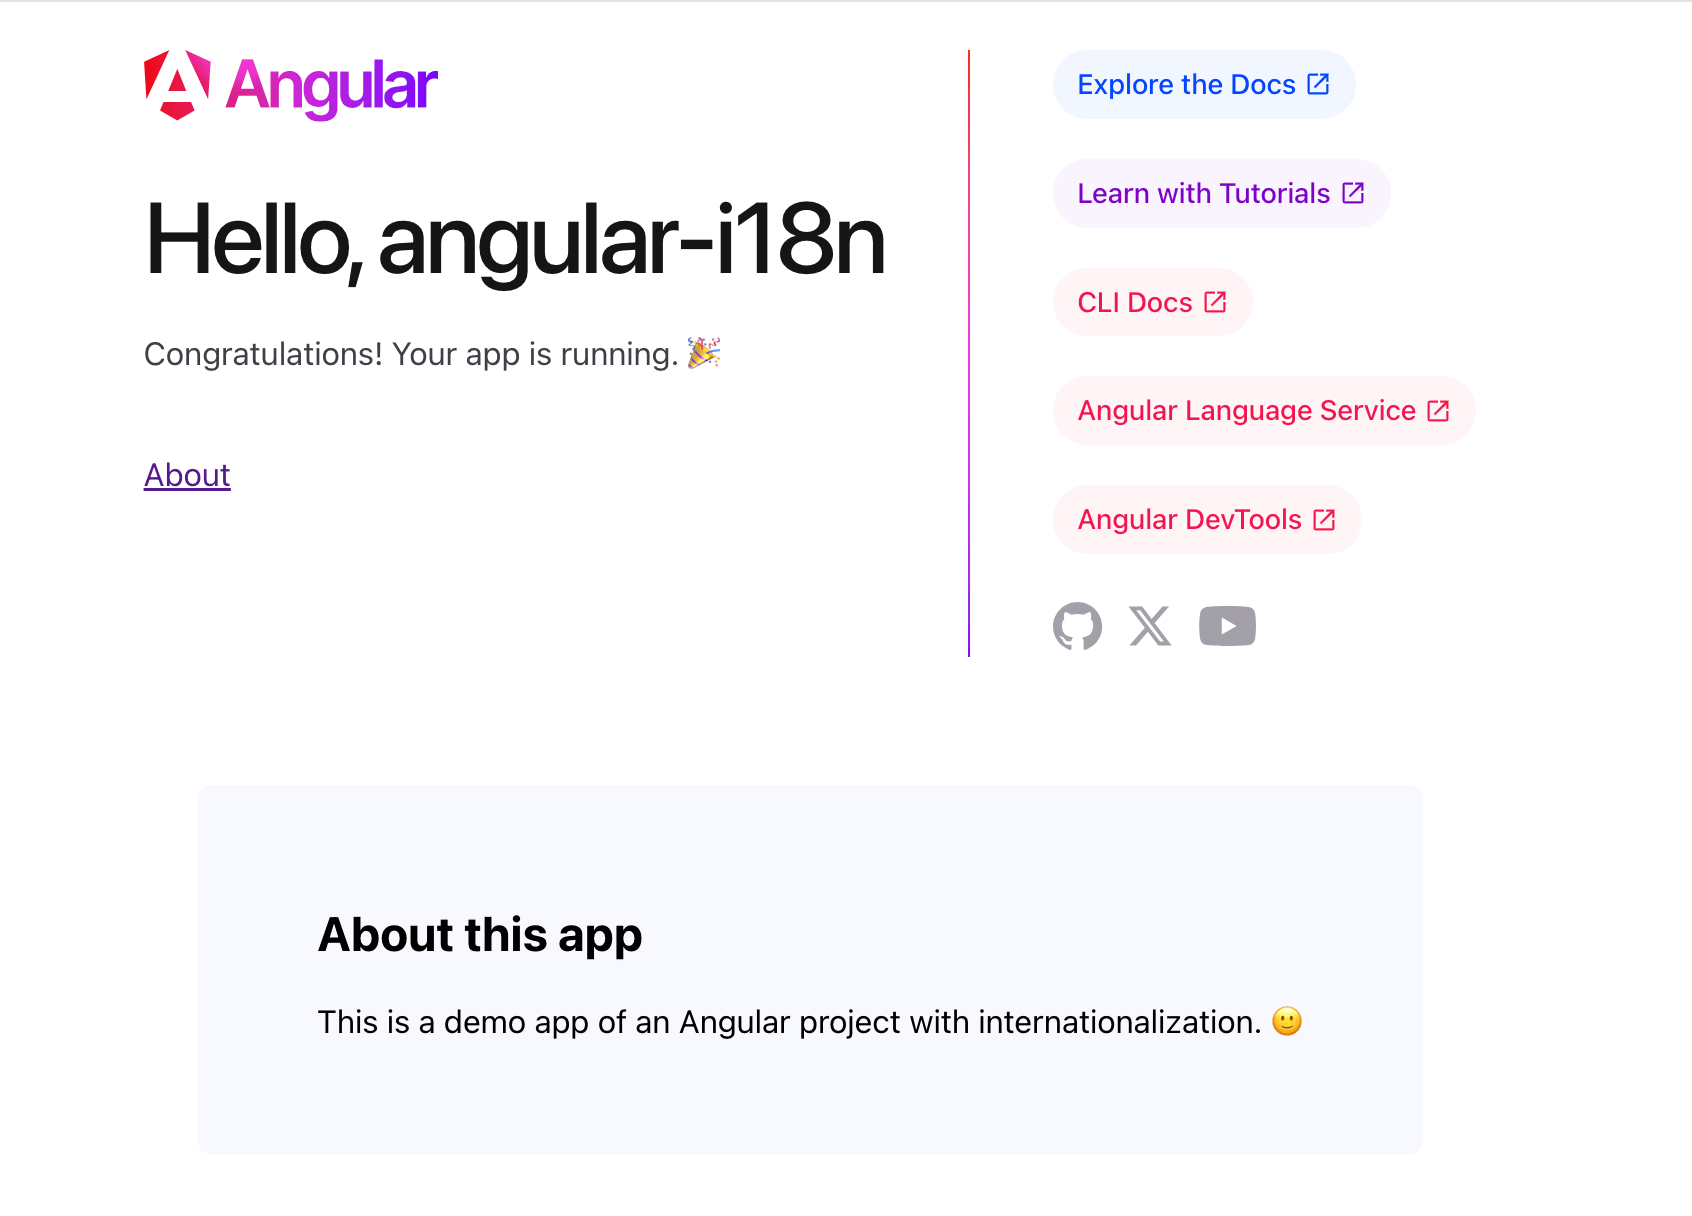
Now we have a more realistic application, with navigation allowing us to display components.
If you restart your project and click the "About", you should see something like this :
Implementing internationalization (i18n)
Installing Angular's i18n Package
Angular's main strength is its rich set of features. The framework offers many basic features that will be very useful for us developers, including routing, SSR (Server-Side Rendering), testing, but also (and especially) internationalization. These "native" integrations guarantee optimal operation, because these different modules were designed specifically for Angular, by Angular developers.
When it comes to internationalization (which I'll shorten to "i18n"), Angular offers the @angular/localize package. This package will allow us to make our application compatible with multiple languages. Let's install it:
ng add @angular/localize
One small step is still required to finalize this module setup. We will need to modify the angular.json file to specify the source language of our project (in my case, it will be English):
{
  "projects": {
    "angular-i18n": {
      "i18n": {
        "sourceLocale": "en"
      },
      // ...
    },
    // ...
  },
  // ...
}
And that's it! Pretty simple, right? We will see later that our Angular configuration will have to be modified again, but nothing too complicated, don't worry.
Preparing Components for Localization
Now that our project is i18n compatible, we will need to modify our various components to indicate which content is to be translated.
The internationalization (i18) allows an application to be compatible with multiple languages. The localization (l10n) process involves creating translations and implementing any other adaptations for a specific locale (displaying different images, for example).
We'll mark translatable content by:
- Adding the
i18nattribute to HTML elements - Using the
$localizetagged template function in component code
First, let's move our link list from HTML to the component code for a cleaner base:
export class AppComponent {
  // ...
  links = [
    { title: 'Explore the Docs', link: 'https://angular.dev' },
    { title: 'Learn with Tutorials', link: 'https://angular.dev/tutorials' },
    { title: 'CLI Docs', link: 'https://angular.dev/tools/cli' },
    { title: 'Angular Language Service', link: 'https://angular.dev/tools/language-service' },
    { title: 'Angular DevTools', link: 'https://angular.dev/tools/devtools' },
  ]
}
<div class="pill-group">
    @for (item of links; track item.title) {
      <!-- ... -->
  }
</div>
Now that our code is in good shape, we can begin the translation preparation work. We need to locate each text element that we want to translate into our target languages, and mark them (via the i18n attribute or the $localize tag function) so that our i18n module can extract the content.
In addition to adding these markers, we'll set an identifier for each element. This identifier, while optional, will allow us to easily find the corresponding entry in our translation files. If we don't do this, Angular will generate a random identifier, but we won't be able to quickly make the connection between the translation file entry and the code element. You can set this identifier using the @@.
<!-- ... -->
<h1 i18n="@@hello">Hello, {{ title }}</h1>
<p i18n="@@congratulations">Congratulations! Your app is running. 🎉</p>
<div style="margin-top: 40px;">
  <a routerLink="/about" routerLinkActive="active" ariaCurrentWhenActive="page" i18n="@@linkAbout">About</a>
</div>
<!-- ... -->
<div>
  <h2 i18n="@@about.title">About this app</h2>
  <p i18n="@@about.content">This is a demo app of an Angular project with internationalization. 🙂</p>
</div>
// ...

export class AppComponent {
  // ...
  links = [
    { title: $localize`:@@linkDocs:Explore the Docs`, link: 'https://angular.dev' },
    { title: $localize`:@@linkTutorials:Learn with Tutorials`, link: 'https://angular.dev/tutorials' },
    { title: $localize`:@@linkCliDocs:CLI Docs`, link: 'https://angular.dev/tools/cli' },
    { title: $localize`:@@linkLanguageService:Angular Language Service`, link: 'https://angular.dev/tools/language-service' },
    { title: $localize`:@@linkDevTools:Angular DevTools`, link: 'https://angular.dev/tools/devtools' },
  ]
}
Génération des fichiers de traduction
Our components are finally localization-ready. But in their current state, our efforts won't amount to much.
We'll need to generate a file containing all our text content in our original language, English. From this file, we can create new files containing the translations.
Let's start by generating the English file, which is the source one :
ng extract-i18n --output-path src/locales
The extract-i18n command offers the --format option which allows you to use a file format other than XLF (XLIFF 1.2), but for the purposes of this example, we'll stick with Angular's default format.
The extract-i18n command creates a messages.xlf file, in which we can find the following elements:
- a
<file>tag that has an attribute indicating the source language of this file (in our case "en" for English) - the text content of our application, stored in
<trans-unit>tags, each of which contains a<source>child tag
This file is stored in the src/locales directory, as specified by the --output-path option. This is where we will store all our translation files.
You may be surprised by how verbose the XLIFF format is, which is an extension of XML. This format effectively forces us to handle files that will easily be several hundred or even thousands of lines long when our application becomes more comprehensive.
We'll later see that automating our localization process will allow us to put this complexity aside, since we will no longer be handling these files directly.
Adding Another Language: French
We now have our source file: src/locales/messages.xlf.
Adding a new language to our project means (pun intended) creating a target file: src/locales/messages.fr.xlf.
To do this, simply copy the source file and modify it, rename it messages.fr.xlf (.fr indicating that this is the French file). To obtain a valid translation file, we'll need to:
- Add the
target-language="fr"attribute to the<file>tag. - Add a
<target>tag after each<source>tag, in which we will store the French value of the corresponding English message.
Here's the resulting French translation file for our project:
<?xml version="1.0" encoding="UTF-8" ?>
<xliff version="1.2" xmlns="urn:oasis:names:tc:xliff:document:1.2">
  <file source-language="en" datatype="plaintext" original="ng2.template" target-language="fr">
    <body>
      <trans-unit id="about.title" datatype="html">
        <source>About this app</source>
        <target>À propos de cette application</target>
        <context-group purpose="location">
          <context context-type="sourcefile">src/app/about/about.component.html</context>
          <context context-type="linenumber">2,3</context>
        </context-group>
      </trans-unit>
      <trans-unit id="about.content" datatype="html">
        <source>This is a demo app of an Angular project with internationalization. 🙂</source>
        <target>Ceci est une application de démonstration d'un projet Angular avec internationalisation. 🙂</target>
        <context-group purpose="location">
          <context context-type="sourcefile">src/app/about/about.component.html</context>
          <context context-type="linenumber">3,4</context>
        </context-group>
      </trans-unit>
      <trans-unit id="hello" datatype="html">
        <source>Hello, <x id="INTERPOLATION" equiv-text="{{ title }}"/></source>
        <target>Bonjour, <x id="INTERPOLATION" equiv-text="{{ title }}"/></target>
        <context-group purpose="location">
          <context context-type="sourcefile">src/app/app.component.html</context>
          <context context-type="linenumber">228,229</context>
        </context-group>
      </trans-unit>
      <trans-unit id="congratulations" datatype="html">
        <source>Congratulations! Your app is running. 🎉</source>
        <target>Féliciations ! Votre application fonctionne. 🎉</target>
        <context-group purpose="location">
          <context context-type="sourcefile">src/app/app.component.html</context>
          <context context-type="linenumber">229,230</context>
        </context-group>
      </trans-unit>
      <trans-unit id="linkAbout" datatype="html">
        <source>About</source>
        <target>À propos</target>
        <context-group purpose="location">
          <context context-type="sourcefile">src/app/app.component.html</context>
          <context context-type="linenumber">231,233</context>
        </context-group>
      </trans-unit>
      <trans-unit id="linkDocs" datatype="html">
        <source>Explore the Docs</source>
        <target>Explorer la Documentation</target>
        <context-group purpose="location">
          <context context-type="sourcefile">src/app/app.component.ts</context>
          <context context-type="linenumber">13</context>
        </context-group>
      </trans-unit>
      <trans-unit id="linkTutorials" datatype="html">
        <source>Learn with Tutorials</source>
        <target>Apprendre avec des Tutoriels</target>
        <context-group purpose="location">
          <context context-type="sourcefile">src/app/app.component.ts</context>
          <context context-type="linenumber">14</context>
        </context-group>
      </trans-unit>
      <trans-unit id="linkCliDocs" datatype="html">
        <source>CLI Docs</source>
        <target>Documentation de la CLI</target>
        <context-group purpose="location">
          <context context-type="sourcefile">src/app/app.component.ts</context>
          <context context-type="linenumber">15</context>
        </context-group>
      </trans-unit>
      <trans-unit id="linkLanguageService" datatype="html">
        <source>Angular Language Service</source>
        <target>Service linguistique Angular</target>
        <context-group purpose="location">
          <context context-type="sourcefile">src/app/app.component.ts</context>
          <context context-type="linenumber">16</context>
        </context-group>
      </trans-unit>
      <trans-unit id="linkDevTools" datatype="html">
        <source>Angular DevTools</source>
        <target>DevTools Angular</target>
        <context-group purpose="location">
          <context context-type="sourcefile">src/app/app.component.ts</context>
          <context context-type="linenumber">17</context>
        </context-group>
      </trans-unit>
    </body>
  </file>
</xliff>
Finally, we need to update our Angular project configuration to indicate several things:
- that our application now also targets French, and that
src/locales/messages.fr.xlfis the file to use to retrieve content in this language - that we want to be able to launch our development server using the French language
- that we need to be able to build our application not only in English (default configuration), but also in French
{
  "projects": {
    "angular-i18n": {
      "i18n": {
        "sourceLocale": "en",
        "locales": {
          "fr": {
            "translation": "src/locales/messages.fr.xlf"
          }
        }
      },
        "architect": {
        "build": {
          "options": {
            // ...
            "localize": true
          },
          "configurations": {
            "fr": {
              "localize": ["fr"]
            }
          }
        },
        "serve": {
          "configurations": {
            "fr": {
              "buildTarget": "angular-i18n:build:development,fr"
            }
          }
        }
      },
      // ...
    },
    // ...
  },
  // ...
}
Let's now test our app in development mode using French, by using our new fr configuration:
ng serve --configuration=fr
If everything went well, you should be able to use our application in French (if you understand anything about it 😄).
If you want to add more languages later, follow these same steps:
- Create a
message.another-lang.xlffile - Write the translations to this file
- Add an Angular configuration to generate our application in this new language, whether for development or production (build)
Building and Deploying Our Internationalized App
Let's build our app and see what happens:
ng build --localize
A new /dist folder has been created, in which we can find a folder per language targeted by our application (dist/angular-i18n/browser/en for English, dist/angular-i18n/browser/fr for French).
Each built application contains only an index.html file and a JavaScript file, although our application can have multiple pages. This is because we generated a SPA (Single Page Application).
If you want to make your app accessible online, you'll need to host it on a server. We won't go into the details of how to host an app in this blog post, but one important topic remains: how will my users be able to use this or that version of your app, depending on their preferred language?
A common way to handle this is by using a reverse proxy, such as NGINX. With this tool, we can redirect requests to the correct folder (/en or /fr), for example, depending on the user's browser language. We will of course need to take care to fallback to our default language in case our application does not support the language set by a user's browser.
Here's what an NGINX server configuration to do this might look like:
http {
  # Map browser's Accept-Language header to a simplified language code
  map $http_accept_language $accept_language {
    ~*^fr fr;
    ~*^en en;
    default en;  # fallback for any other or missing languages
  }
}

server {
  listen 80;
  server_name localhost;

  root /www/data;

  # Redirect root path "/" to the localized app folder
  rewrite ^/$ /$accept_language/ permanent;

  # Serve Angular app files from /en, /fr directories
  location ~ ^/(en|fr)/ {
    try_files $uri $uri/ /$1/index.html?$args;
  }

  # Optional: catch invalid language paths and redirect to default
  location ~ ^/[^/]+/?$ {
    return 302 /en/;
  }
}
Automating the Localization Process
Our Angular app is now available in 2 languages. Congratulations! 🎉
Of course, this is a demo app, with very few features, very few pages, in short, very little text content. Maintaining i18n files in XLF format will quickly become complex if we add content. And that's without mentioning the case where you want to have your application translated by a professional translator: since the XLF format is difficult to understand, you will be asked to generate a more common file, such as a spreadsheet. Imagine the work required to create such a file, then copy the translations into your XLF file for the target language. It's a considerable waste of time and opens the door to errors!
Moreover, if you plan to translate your project into multiple languages, it is because you want your users to have the best possible experience, while increasing the reach of your product, and therefore its number of users.
Automating your localization process will help meet all these needs, and more:
- by only worrying about the content in our source language, with the translations being automatically generated
- by freeing up considerable time to focus on your product and your users
- by allowing you to manage dozens of languages without any additional work, allowing you to reach users worldwide
If this automation allowed you to obtain higher-quality translations than a traditional online translation tool, wouldn't it be wonderful? Well, that's what Polygot allows you to do!
Let's see how we can set up this automation very easily, in just a few minutes. Follow these steps:
- Create a Polygot account
- Install the CLI
npm install -g @polygothq/cli - Create a new Polygot project, with some new target languages (let's add Italian and Spanish for instance)
- In our app root directory, initialize the Polygot project. Set
src/locales/messages.xlfas the source file, andsrc/locales/messages.%lang%.%ext%as translations target patternpolygot init - Push our existing messages
polygot push sources polygot push translations -l fr - Synchronize to generate and pull the new translations
polygot synchronize - Add the missing target languages in
angular.jsonangular.json{ "projects": { "angular-i18n": { "i18n": { "sourceLocale": "en", "locales": { "fr": { "translation": "src/locales/messages.fr.xlf" }, "it": { "translation": "src/locales/messages.it.xlf" }, "es": { "translation": "src/locales/messages.es.xlf" }, } }, "architect": { "build": { // ... "configurations": { "fr": { "localize": ["fr"] }, "it": { "localize": ["it"] }, "es": { "localize": ["es"] } } }, "serve": { "configurations": { "fr": { "buildTarget": "angular-i18n:build:development,fr" }, "it": { "buildTarget": "angular-i18n:build:development,it" }, "es": { "buildTarget": "angular-i18n:build:development,es" } } } }, // ... }, // ... }, // ... } - Update your NGINX configuration file accordingly, if you're using it as a reverse proxy
And there you have it, it's that simple! And the best part: whenever you update your app (adding new features, changing text content, etc.), simply run the polygot synchronize command, which will update all your translations. In just a few seconds, your project will be ready to be updated in production for multiple languages.
Learn more about Polygot's features on its documentation website.
Conclusion
By now, you've seen how straightforward it is to build a multilingual Angular app using the framework's built-in i18n tools. From setting up translation files to managing multiple language builds, Angular makes localization accessible, even for complex applications.
But as your app grows and your supported languages multiply, manually handling translation files can quickly become overwhelming. That's where automation comes in. By streamlining your localization workflow, you save time, reduce errors, and deliver a better experience to users around the world.
Ready to scale your i18n process with ease? Let uus show you how Polygot can make it effortless.